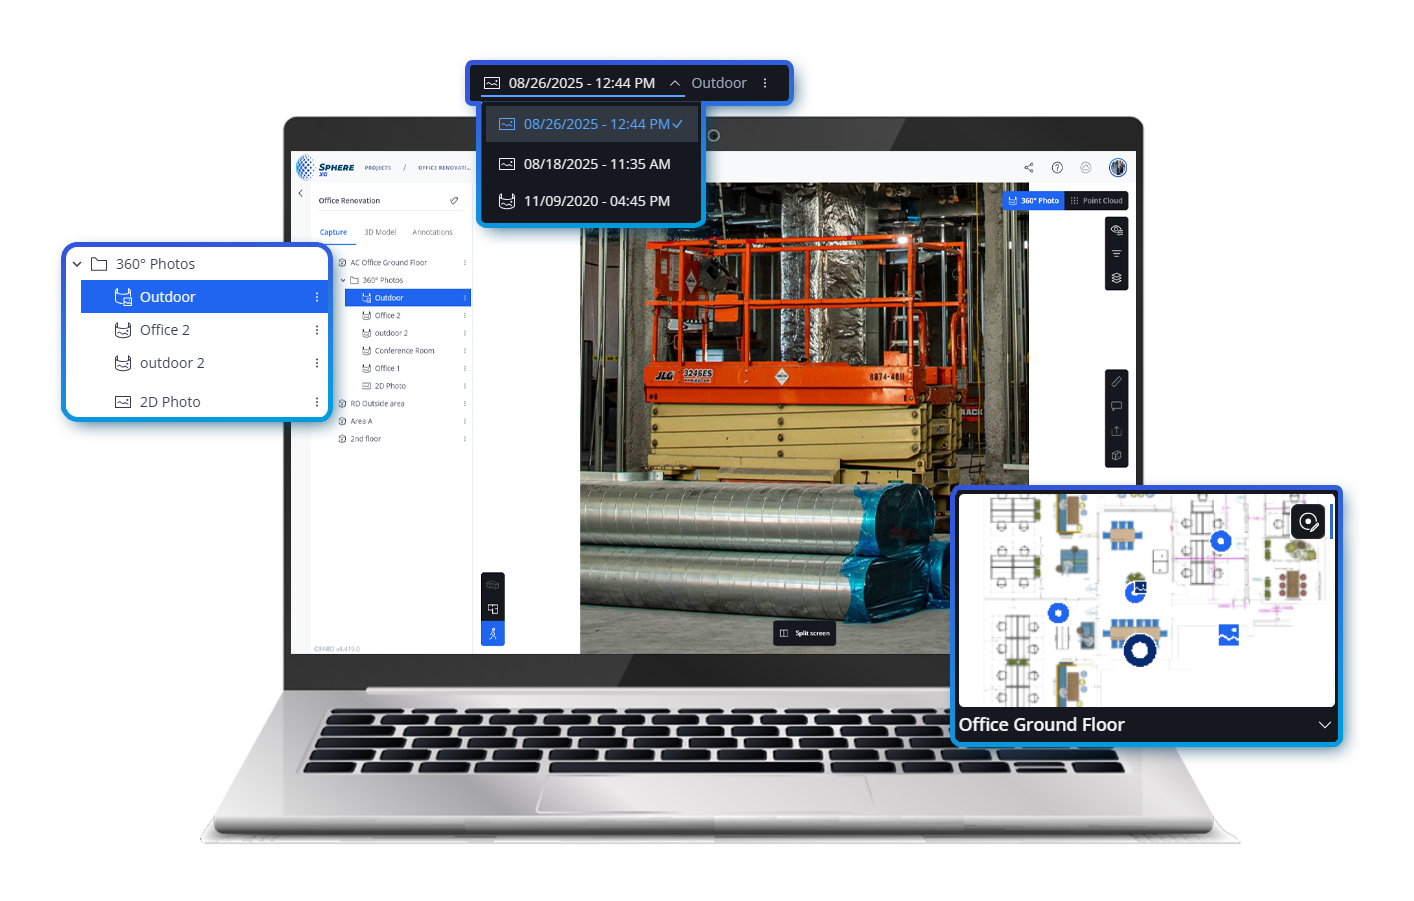
Now Available in Sphere XG: Floor Plan Generation
We’re excited to introduce floor plan generation! This powerful feature allows you to transform your complex 3D scan data into clear, simplified 2D floor plans that focus on spatial relationships. Each schematic floor plan includes room layouts, approximate dimensions, and the placement of structural elements like doors and windows.
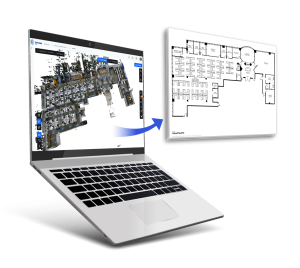
The floor plan generation process is user-friendly: simply select your 3D scan, choose your preferred unit (metric or imperial), and start the generation process. Once complete, you can download your floor plan in multiple formats including PDF, PNG, JPEG, or SVG. You can also upload the generated floor plan back into your Sphere XG project to provide better spatial context to your captures.
Whether you’re a real estate professional, architect, or construction planner, these floor plans bridge the gap between complex point cloud data and practical, easy-to-understand documentation. Interested? Check out our full release article for a detailed breakdown.
New Edit Functions in Sphere XG
Edit Waypoint Positions
Sphere XG users can now drag and reposition waypoints and location markers on floor plans for improved placement accuracy. This functionality enables project teams to fine-tune waypoint locations after initial capture, ensuring optimal navigation paths and more precise documentation of critical areas during construction progress reviews or facility inspections.
To move a waypoint, simply click the waypoint edit icon in the right toolbar (accessible in the 2D Overview mode), make changes as needed and hit “Apply changes”. Misclicked? No problem with the handy undo button! The edit mode is also available in the minimap in Walk mode.
Edit Time Stamps
You can now modify the time stamps of individual 360° photos to correct the capture time or align documentation with project schedules. This is particularly valuable for maintaining accurate progress timelines when coordinating multiple capture sessions.
To open the edit menu, click the three dots next to the selected photo in the upper left corner, while in Walk mode. Hit “Edit” and a pop-up will open where you can edit the name of the 360° location as well as date and time.
New Display Functions in Sphere XG
Streamlined User Interface
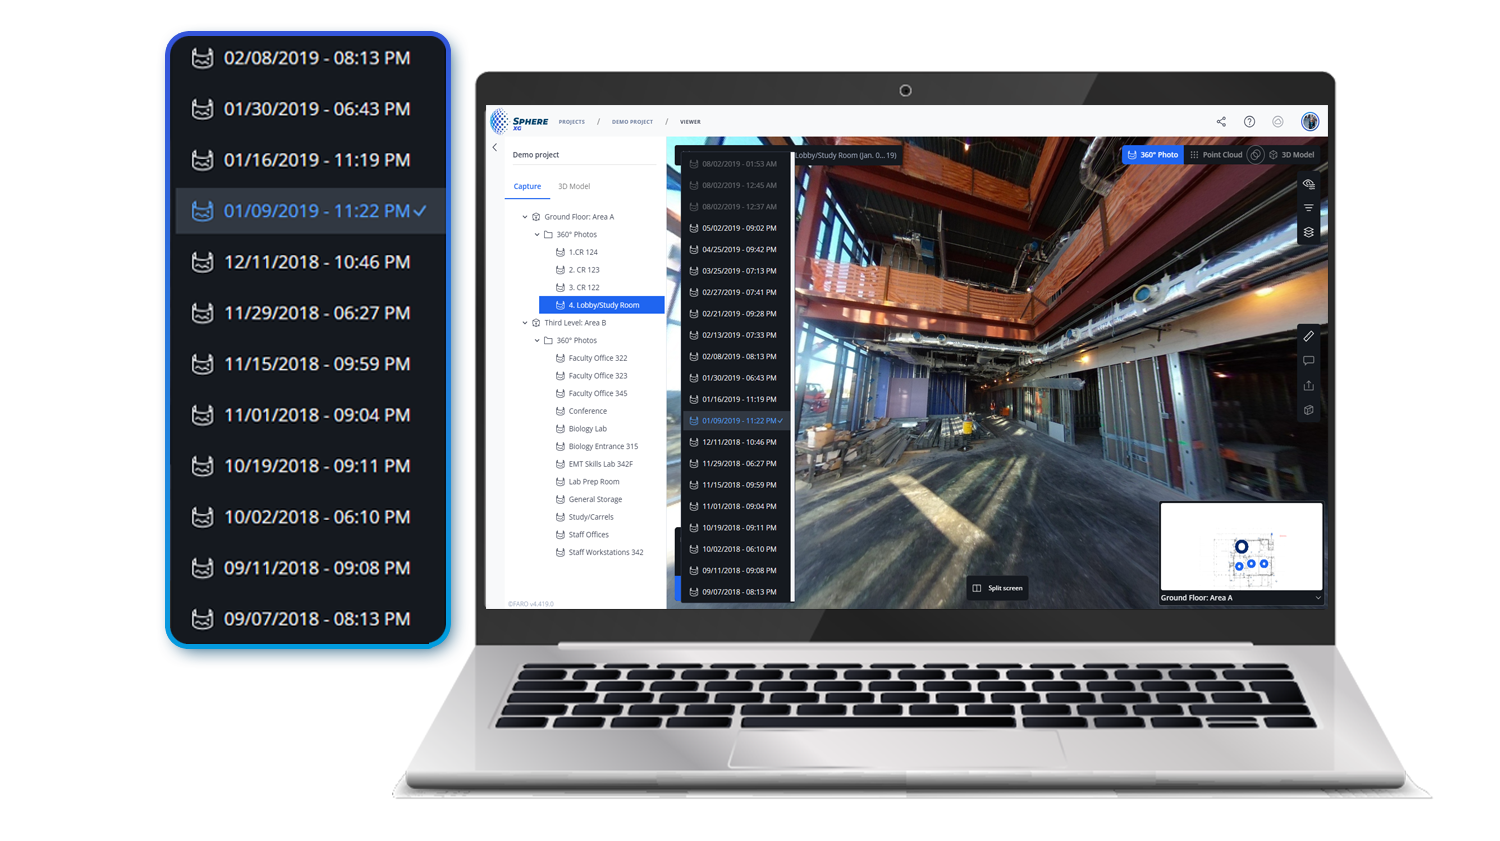
Time travel 360° photos have been removed from the left side panel to create a cleaner, less cluttered user interface. All historical time points remain fully accessible through the time travel dropdown when selecting specific locations, making it easier to navigate projects without visual confusion while preserving complete temporal data access.
Display 2D Photos from HoloBuilder
Sphere XG now seamlessly integrates 2D photos from HoloBuilder alongside 360° captures in a unified timeline view. Construction teams can access both 2D documentation and immersive 360° imagery within the same interface, with new visual icons distinguishing photo types in the project tree and minimap for comprehensive project documentation and progress tracking.