
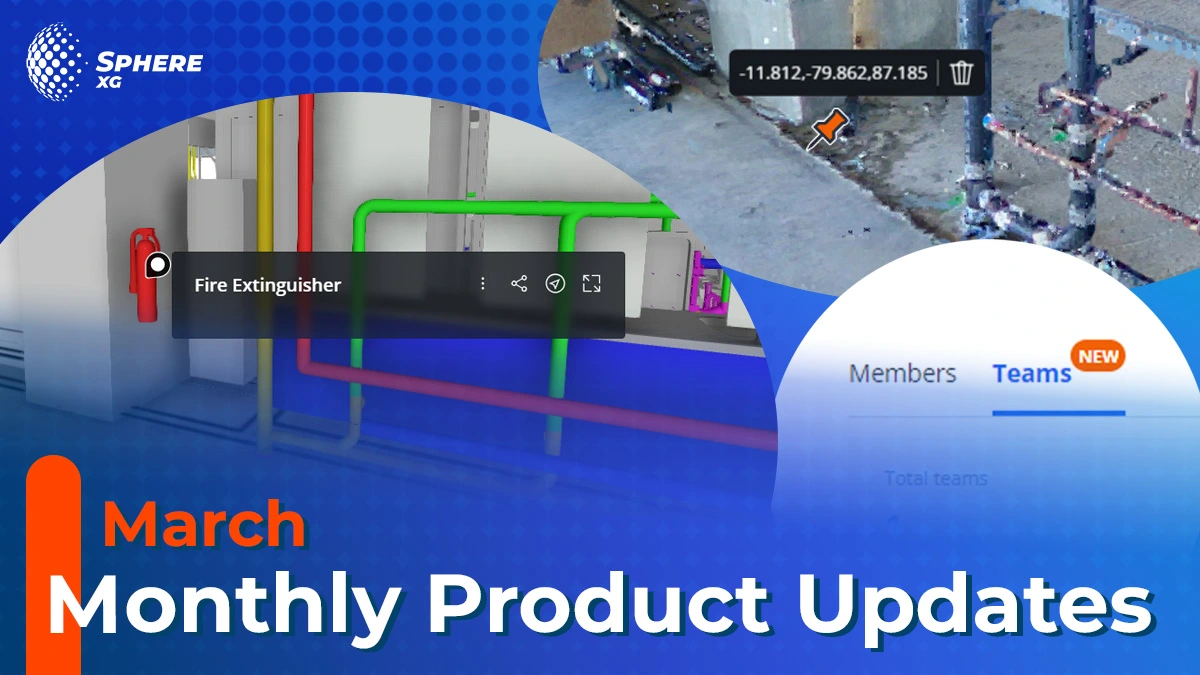
Simplified User Management With “Teams”
This month, we’re introducing an update to your user management: Teams. Streamline permission management across projects, groups, and workspaces by grouping multiple users and assigning access rights collectively. This new update makes it significantly easier to manage access rights for departments, client organizations, and cross-functional teams.
Benefit from:
- Time Savings: Reduce the time spent managing permissions by allowing admins to assign roles to multiple users at once.
- Consistency: Ensure all team members have identical access rights, eliminating inconsistencies.
- Scalability: Makes onboarding new users simple with pre-defined permission sets.
To use this new functionality, navigate to “Teams” in the workspace settings, create a new team, add users, and assign permissions at the project level (Viewer, Editor, Admin, Manager), group level (Project Manager, Group Manager), or workspace level (Viewer, Admin). When the team composition changes, just add or remove team members as needed.
Updates to Layers
By being able to visualize multiple layers at the same time, Sphere XG is offering a new way to easily compare your 2D layers on top of each other. For example, you can show your floor plan on top of the generated overview map or you can compare different states of floor plans.
Adding new layers is now also possible through the “Import Data” button. Via the layers menu, you can now view multiple layers at the same time. Simply adjust visibility by clicking the eye icon to show or hide a layer.
Mark 3D Positions With a Pin
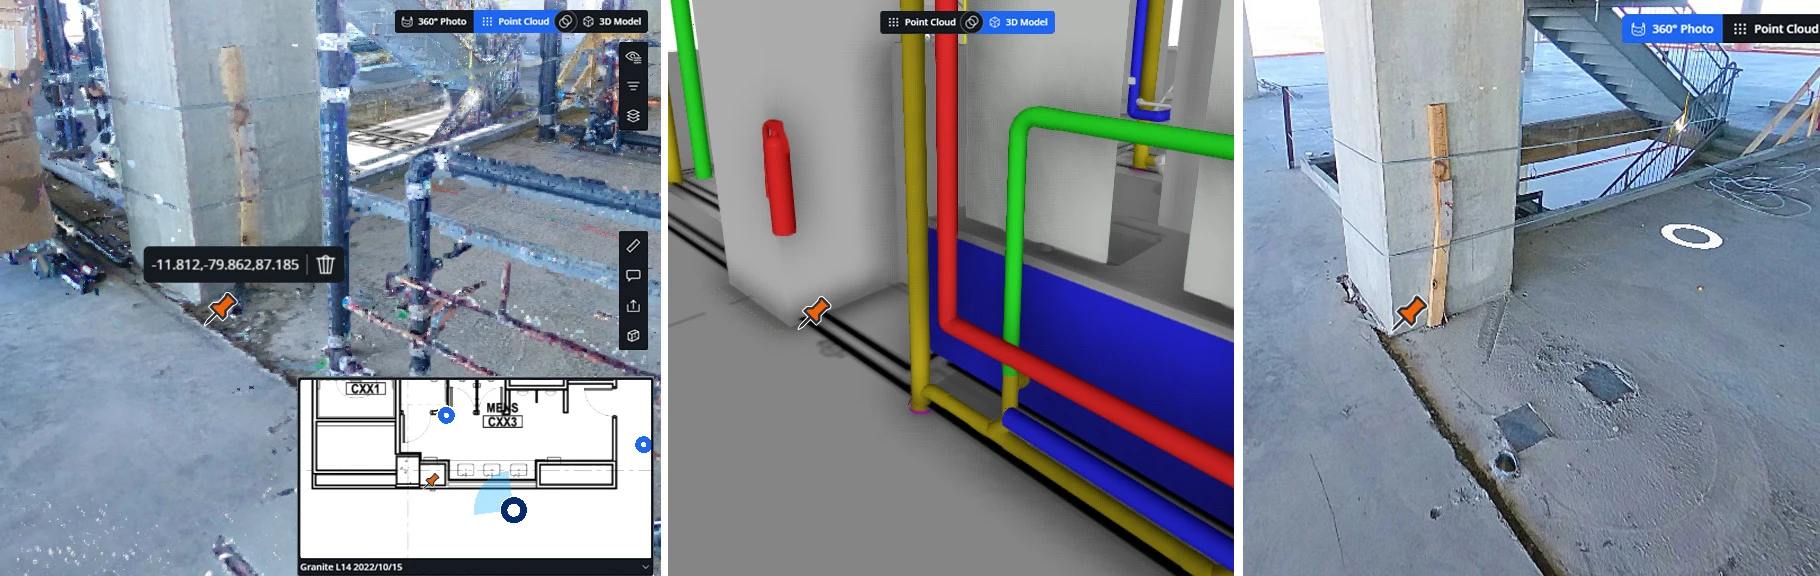
Mark up specific locations in the 3D environment to save coordinates of that position. The pin will be visible from any view (point cloud, 3D model, 360° photo) from all angles to check that the position is set correctly. Just right click on a point and select “Place Pin” or Shift + right click directly to place a pin and see its coordinates. You can easily copy the coordinates by clicking on them to share.
Enhanced Annotations
Annotations are now also supported in the 3D model view! The workflow is the same as you already now: Simply click on the annotation icon on the right tool bar, select a point in the 3D model and fill in all info. Additionally, we improved the “go to annotation”-functionality. For any newly created annotations you will now be taken to the same view as the annotation was created to make sure you will see the right context. You can see all annotations in the tab on the left and hit the arrow icon to directly go to an annotation.


